Intro
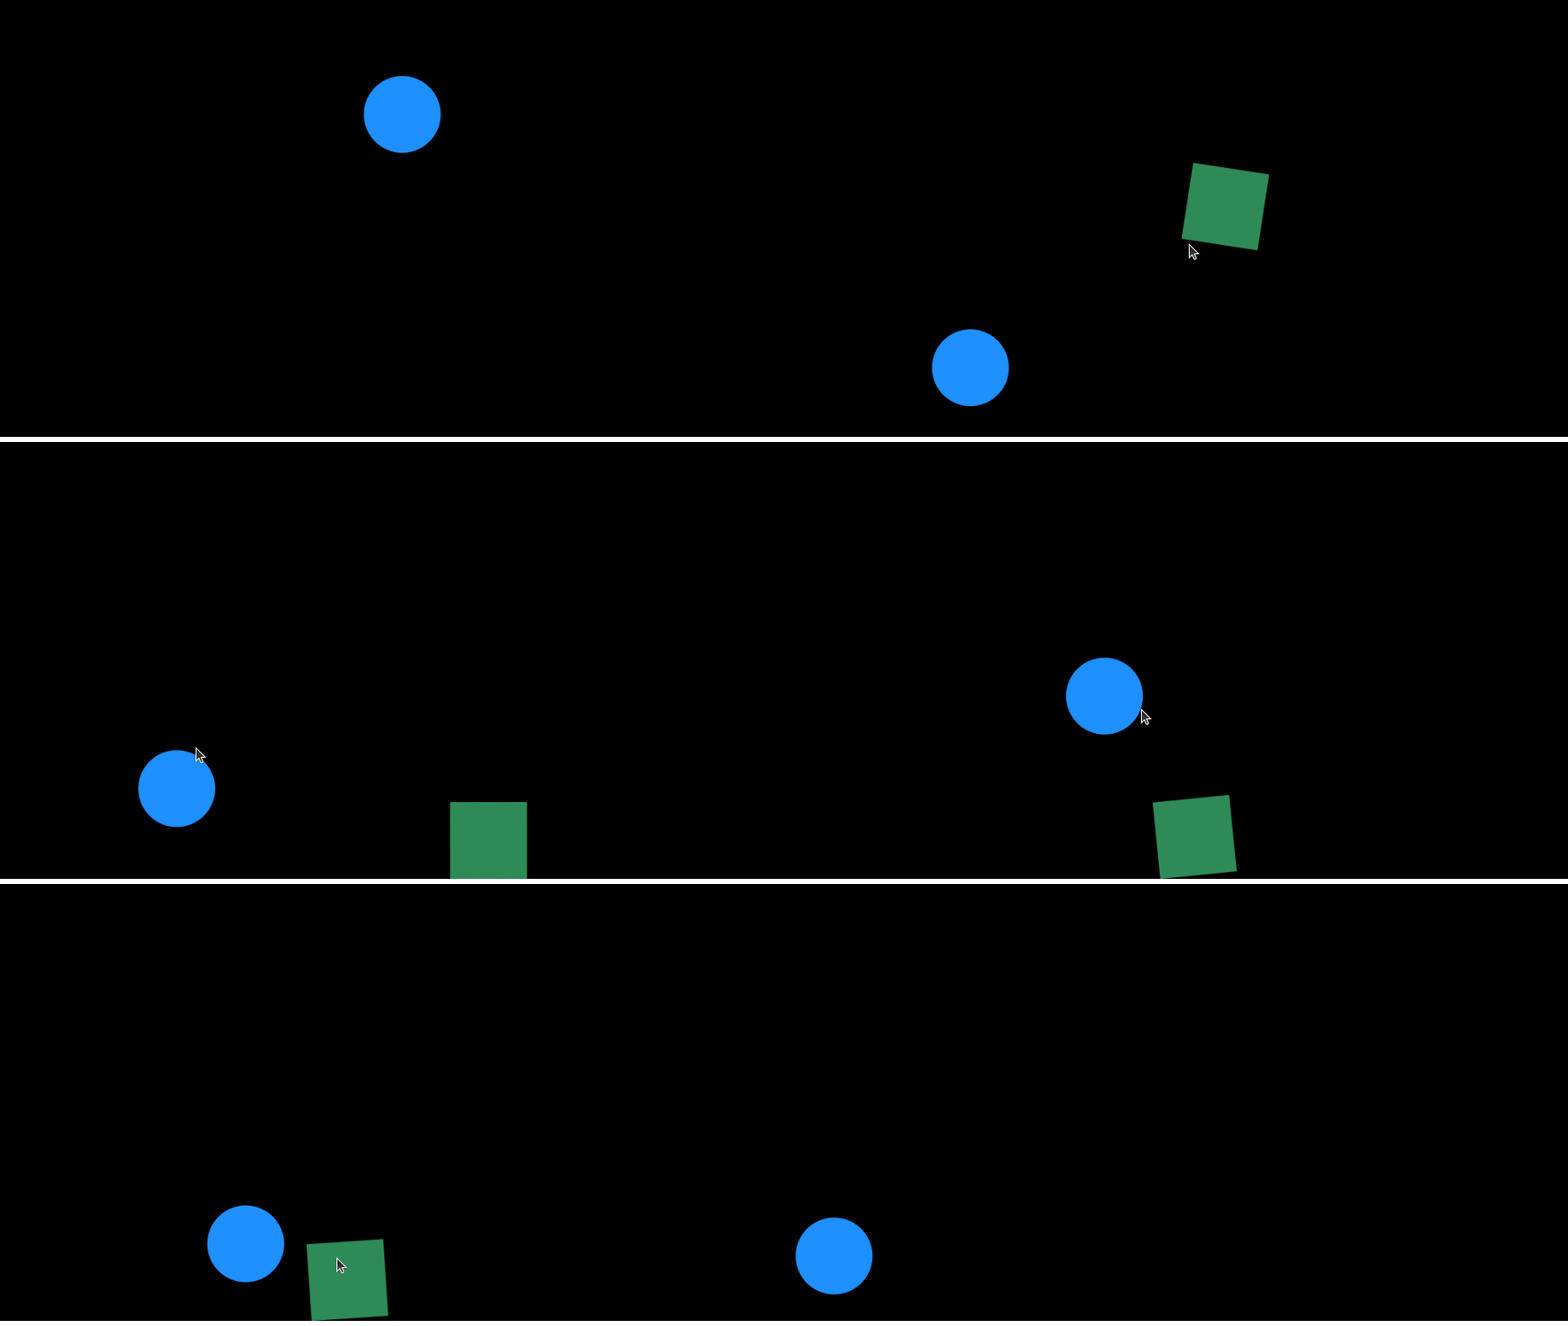
These are my notes on creating a website with 2D physics. This is done using the HTML canvas API and Matter.js. Matter.js can be used for rendering graphics as well, but drawing the graphics using a canvas can allow for more flexibility. All the code for this project can be found here.
Setup
I'm using vite for this. To get started initialize a new vite application with the following command:
npm init vite <app-name>

From this menu, select vanilla. Next, I'm going to use TypeScript.

It will ask you to run the following commands:
cd <app-name>npm installnpm run dev
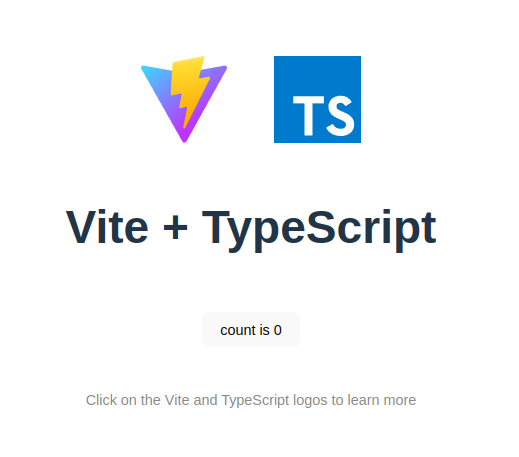
After running these commands, open the application in your browser to ensure it is working. You should see this screeen.
Open another terminal and install Matter.js. This is the physics library used for 2D physics. See this page for Matter.js documentation and demos. For TypeScript, it's also necessary to install the types.
npm i matter-jsnpm i @types/matter-js
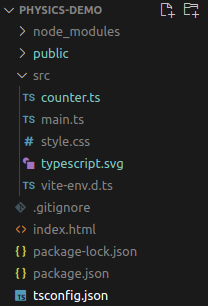
The final step of the setup is to delete the files generate by vite while scaffolding the project.
The following files and folders can be deleted. Also, delete all the code from the main.ts and
style.css files.
Creating the Canvas
Edit the index.html file to match the following. Note the link to style.css and the
addition of the canvas.

Edit style.css to contain the following.

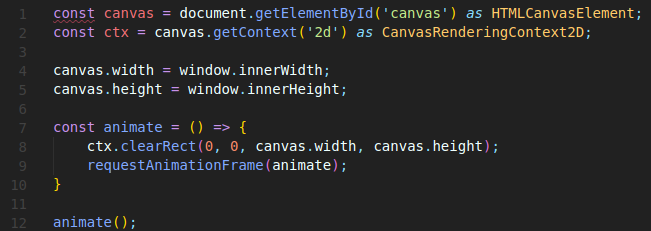
Now add the following code to main.ts. This code gets a reference to the canvas and
sets up the main loop for drawing graphics.
Matter.js
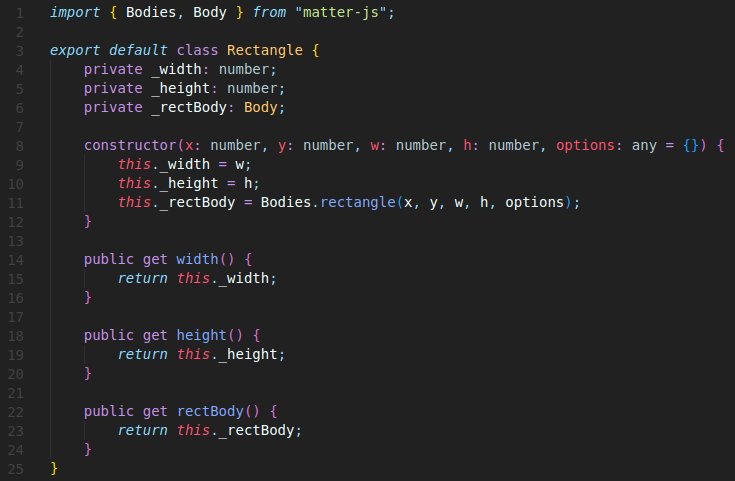
First add a new file rectangle.ts. This holds a rectangle class that will be used when creating
rectangle bodies with Matter.js. The reason for this is that Matter.js doesn't have an easy way to access the
width and height of rectangles. This information is needed when drawing to the canvas, so I just create a simple
class that stores the width, height and a reference to the rectangle body. See the ma
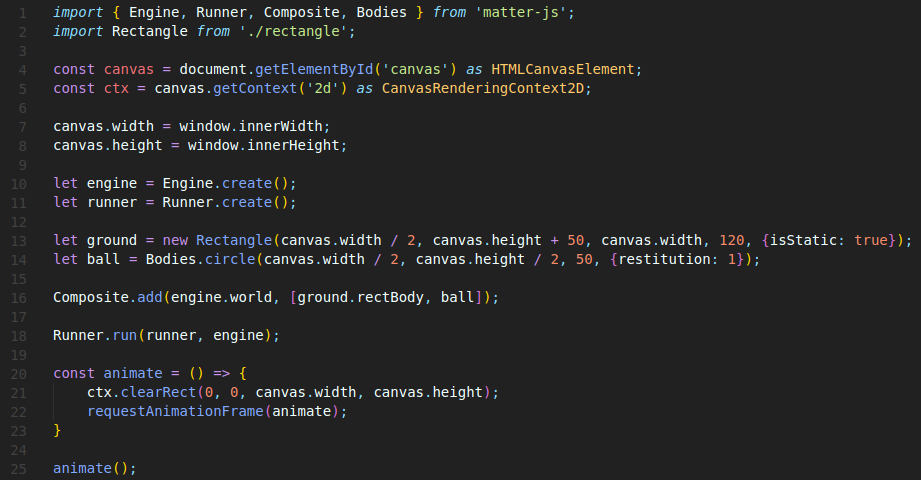
Now update main.ts to have the following code. This creates the engine and runner for handling the physics.
This also creates our ground and a ball. Notice the ground is given an option isStatic. This tell Matter.js
not to apply physics to it (gravity, forces, etc). Objects will still be able to collide with it though. The ball is a
circle body placed in the middle of the screen. This body is not static so it will start falling down when it runs. The
restitution option tells the "bounciness" of the object. Higher values make it more bouncy.
Drawing Objects
After the line with Runner.run add the following code. This adds methods to draw rectangles and circles
to the canvas.
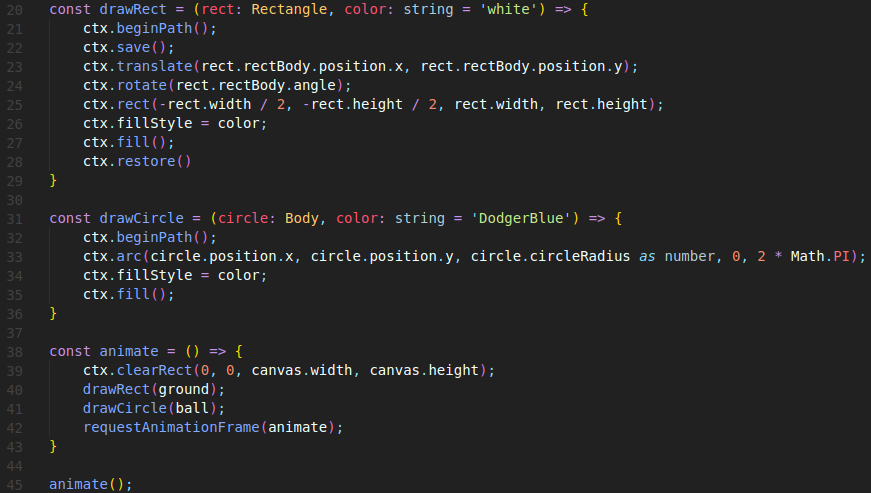
When drawing rectangles, use translate and rotate to draw the rectangle with
the correct orientation. In the call to ctx.rect(...), I make the x position -rect.width / 2
and the y position -rect.height / 2. This is because in Matter.js, the x and y of bodies are always their
centerpoint. In HTML canvas, the x and y define the top left of a rectangle, so this is just compensating for that difference.
For drawing circles, there's no need to rotate since I'm just filling it with a solid color, so it wouldn't look any different if it was rotated. If I were using an image for the circle, I may want to apply the rotation, which could be done using translate and rotate just like drawing rectangles.
Finally, calls to drawRect and drawCircle are added to the animation loop to draw the ground
and ball that were created earlier.
One improvement that can be done here is to use events provided by matter as the animation loop instead of the traditional way I have set up here. Lines 38 - 45 above can be replaced with the following. The advantage of doing this is now our animation will start automatically when the runner starts. Also, if we stop the runner, the animation will stop as well. This way it's not two separate things to manage.

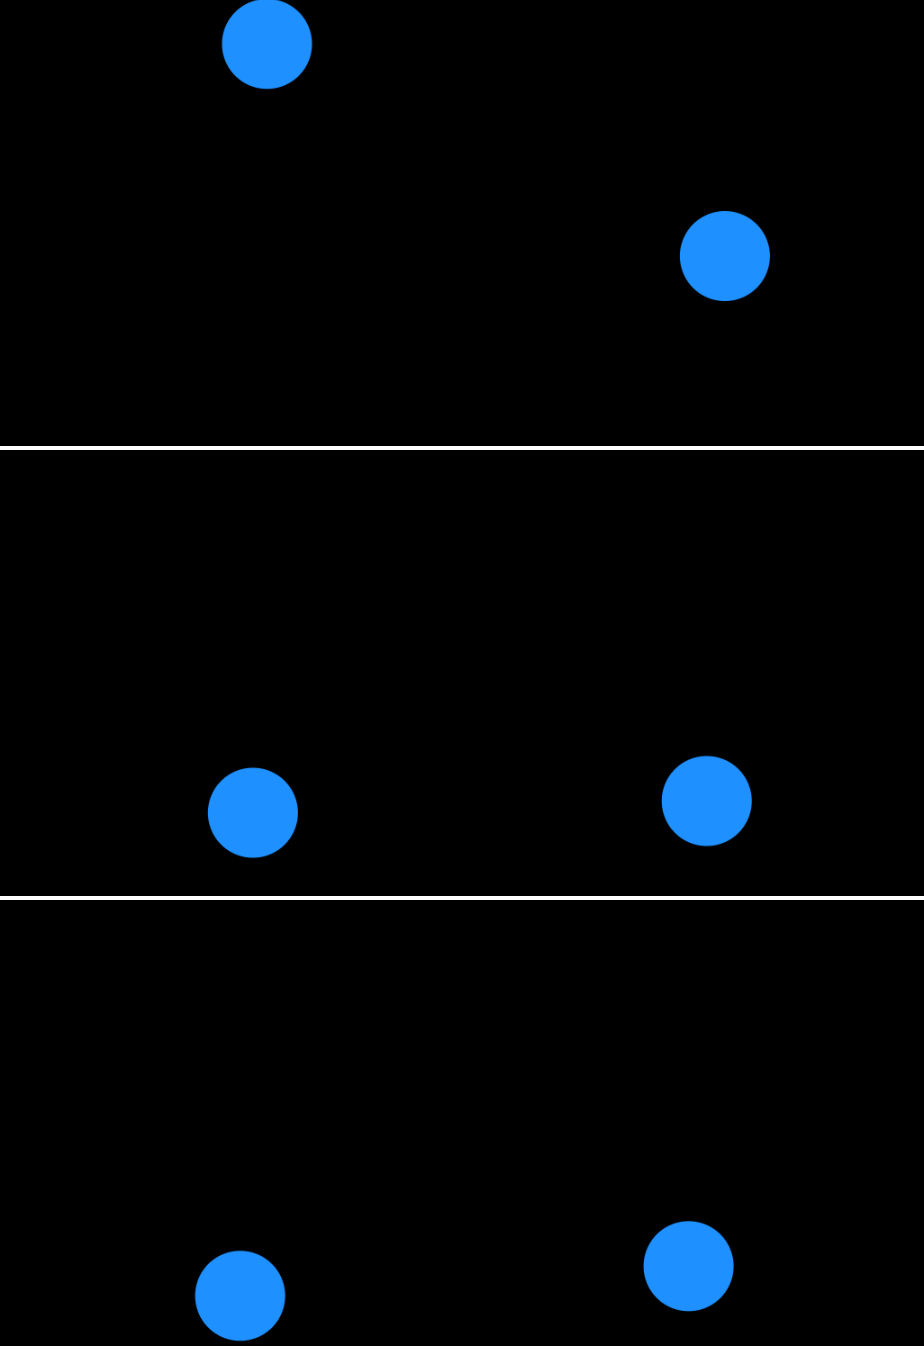
In the browser, vite will apply the changes as you save files, so no need to refresh. You should now have the ground and a ball that bounces.
Next, I'll add a rectangle so we can see some interaction between bodies. The starting position will be just above the
circle, so when they fall down they'll collide. No need to include the isStatic option like the ground becuase it
is set to false by default. Add the box to the world as well.

Then draw the box to the screen in the animation loop.

When you go to the browser, you should see this now.
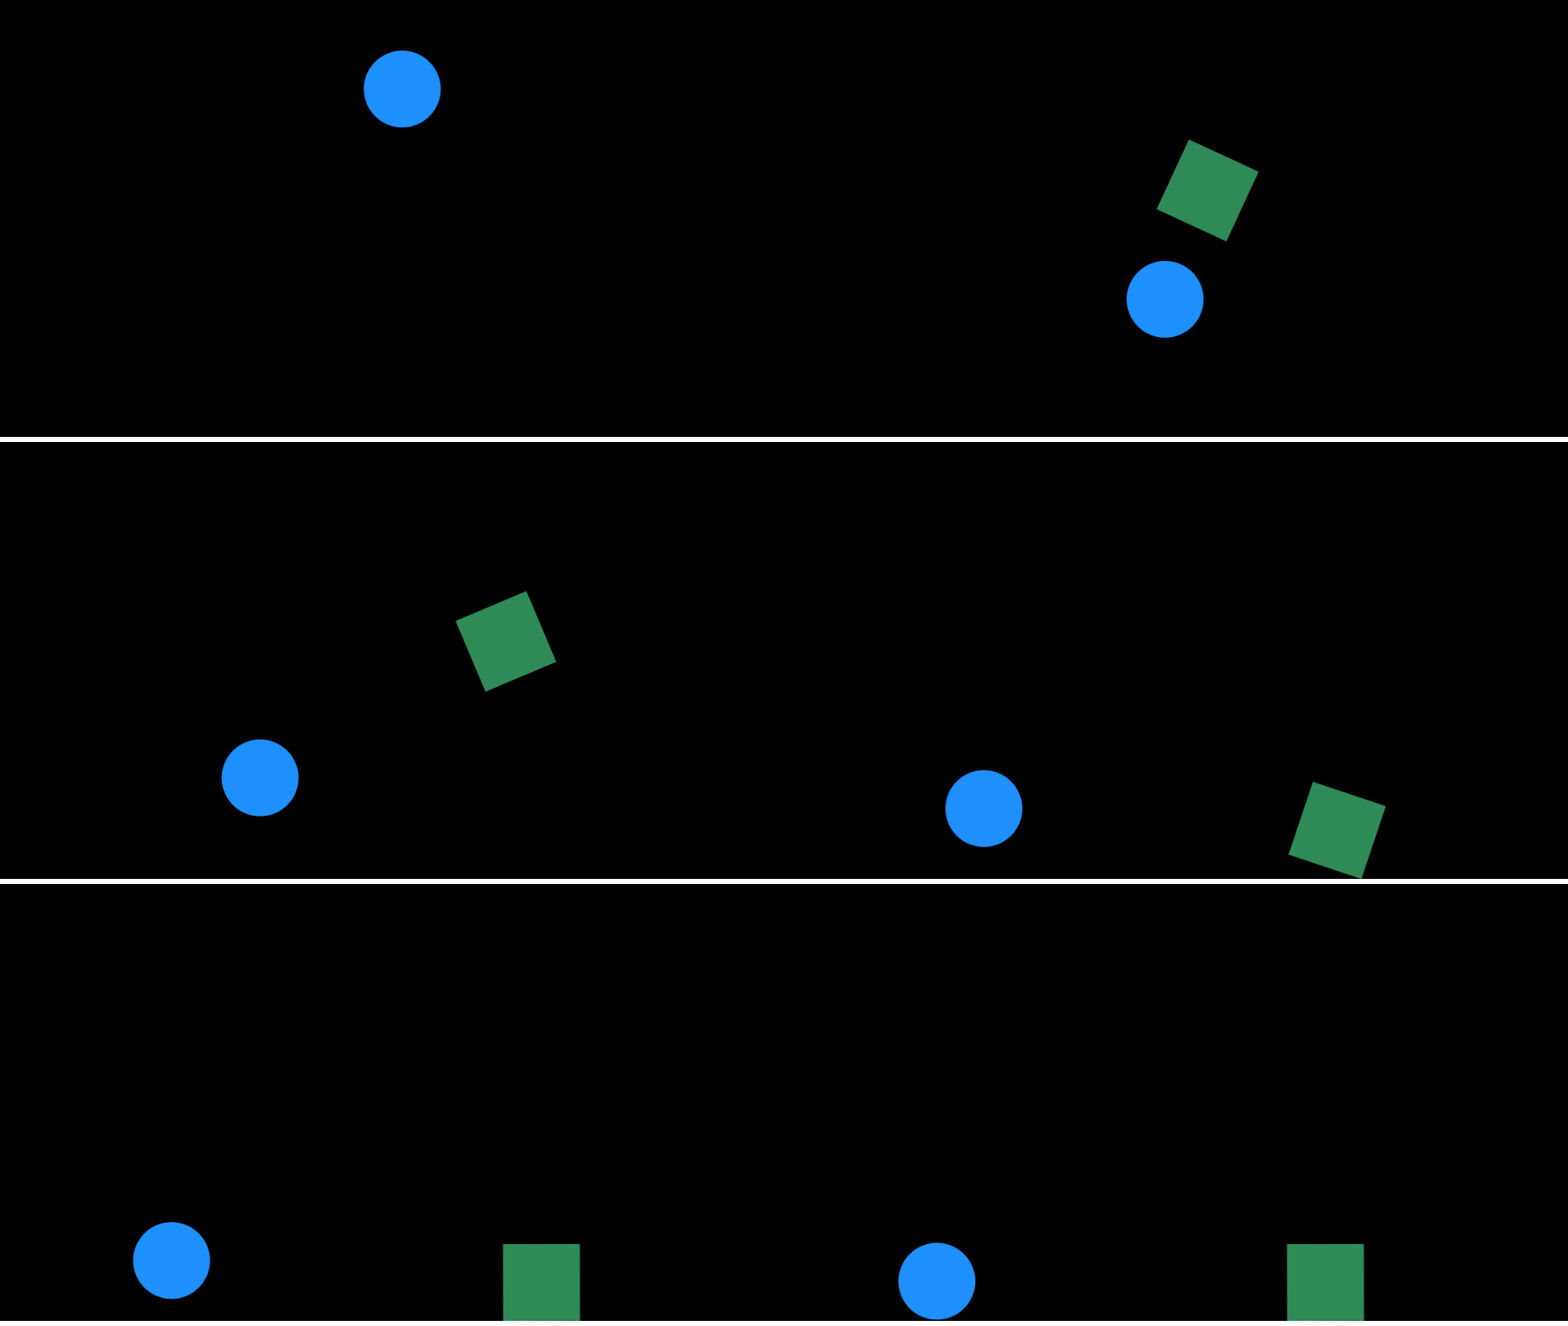
Mouse Interaction
The last thing I'm going to show is using the mouse to interact with objects on screen. In Matter.js, this is known as a
mouse constraint. This is very simple to do in Matter.js, just add the following lines and add the mouse constraint to the
world. The constraint option is not required. I'm using it here to specify stiffness to make the constraint
more springy. The stiffness is higher by default, so objects stick to the mouse without any springiness.

Final Result
